Whether you’re upgrading an aging air conditioning unit or installing a brand-new system in your home, understanding the typical steps involved in AC installation can help you feel more prepared and confident in the process. A successful air conditioner installation involves more than just putting in a new unit—it includes detailed planning, professional execution, and thorough testing to ensure your home stays cool and efficient.
In this blog, we’ll walk you through the standard sequence of an AC installation, from the initial consultation to the final system startup, and explain why working with a qualified HVAC installer makes all the difference.
Step 1: In-Home Evaluation and Load Calculation
The first step in the process is a professional evaluation of your home by an experienced HVAC contractor. They’ll assess the size, layout, insulation, number of windows, and other factors to determine the right size and type of air conditioning unit.
A load calculation—also known as Manual J—is essential to avoid over- or under-sizing your AC. Oversized units cycle too often, wasting energy, while undersized ones run constantly and struggle to cool your space.
 Step 2: System Selection and Estimate
After assessing your home, the contractor will provide equipment options tailored to your needs. This includes choosing between central air systems, ductless mini-splits, or high-efficiency units depending on your home layout and cooling preferences. You’ll also receive a detailed quote outlining labor, equipment, materials, and timelines.
At this stage, if you’re replacing an AC unit, the technician may also inspect your current ductwork to see if it needs modifications or repairs before installation.
Step 3: Scheduling and Permitting
Once you’ve selected your system, the next step is scheduling your installation. Depending on local regulations, permits may be required before the project begins. A reputable HVAC installer will handle the permitting process to ensure everything complies with building codes and energy efficiency standards.
This is especially important in areas like San Ramon, where local climate and regulations impact installation requirements. For local insights, check out our Guide to AC Installation & Replacement in San Ramon, CA.
Step 4: Removal of the Old Unit (If Applicable)
If you’re replacing a home AC unit, the old system must be carefully disconnected and removed. This includes safely handling refrigerants and disposing of the equipment according to EPA regulations. Ductwork and electrical connections are also examined and prepped for the new unit.
Step 5: Installing the New Air Conditioning Unit
With everything ready, the new air conditioning unit is installed. The process may include:
- Mounting the indoor and outdoor components
- Connecting refrigerant lines
- Installing or updating ductwork and electrical wiring
- Sealing and insulating connections for efficiency
- Integrating a new thermostat, if applicable
Experienced HVAC contractors near you will ensure each component is properly placed and connected to optimize airflow and energy use.
Step 6: System Charging and Testing
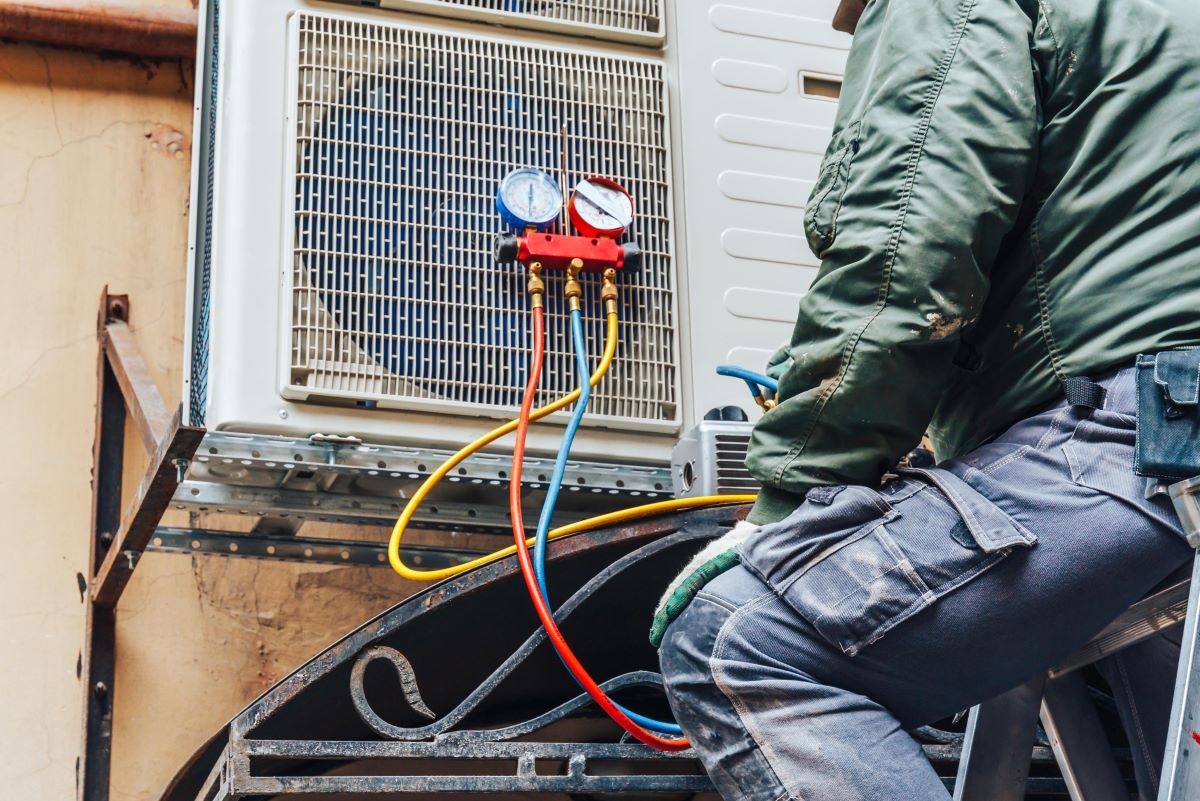
After installation, the system is charged with refrigerant to manufacturer specifications. Your technician will then test the unit thoroughly, checking:
- Airflow and temperature differentials
- Refrigerant levels
- Electrical connections
- Thermostat communication
- System pressures and efficiency
This step ensures your new system runs safely, efficiently, and effectively before it’s handed over to you.
Step 7: Final Walkthrough and Owner Education
Once the testing is complete, your HVAC installer will walk you through the system’s operation. They’ll explain how to use the thermostat, change filters, and maintain your system to maximize lifespan and performance.
This is also the time to review warranty details, service agreements, and ask any questions you might have.
 Step 8: Ongoing Maintenance and Support
After installation, it’s important to schedule regular maintenance to keep your air conditioning unit running smoothly. Annual tune-ups help prevent costly breakdowns and extend the life of your system.
If you ever experience issues like uneven cooling or increased energy bills, it could be a sign that replacing your AC unit may be more cost-effective than frequent repairs. Always work with certified HVAC contractors near you who are familiar with local conditions and service requirements.
Why the Installation Sequence Matters
Each step in the installation process plays a critical role in the long-term performance of your system. Skipping steps or working with an inexperienced contractor can lead to problems like:
- Poor cooling performance
- Increased energy usage
- Frequent repairs
- Shortened equipment lifespan
By following a structured process and working with a reliable HVAC installer, you ensure a smooth installation experience and optimal performance from day one.
Understanding the normal sequence of air conditioner installation helps you make informed decisions, whether you’re installing a system for the first time or replacing an air conditioner that no longer performs efficiently. From sizing and permitting to equipment selection and testing, every phase is essential to creating a comfortable, energy-efficient home.
If you’re preparing to install air conditioning or are considering air conditioning unit replacement, our team is here to guide you through every step.
📞 Call 925-755-4440 or send us a message through our website to schedule your AC consultation. We’ll help you find the right solution for your home, comfort, and budget.


